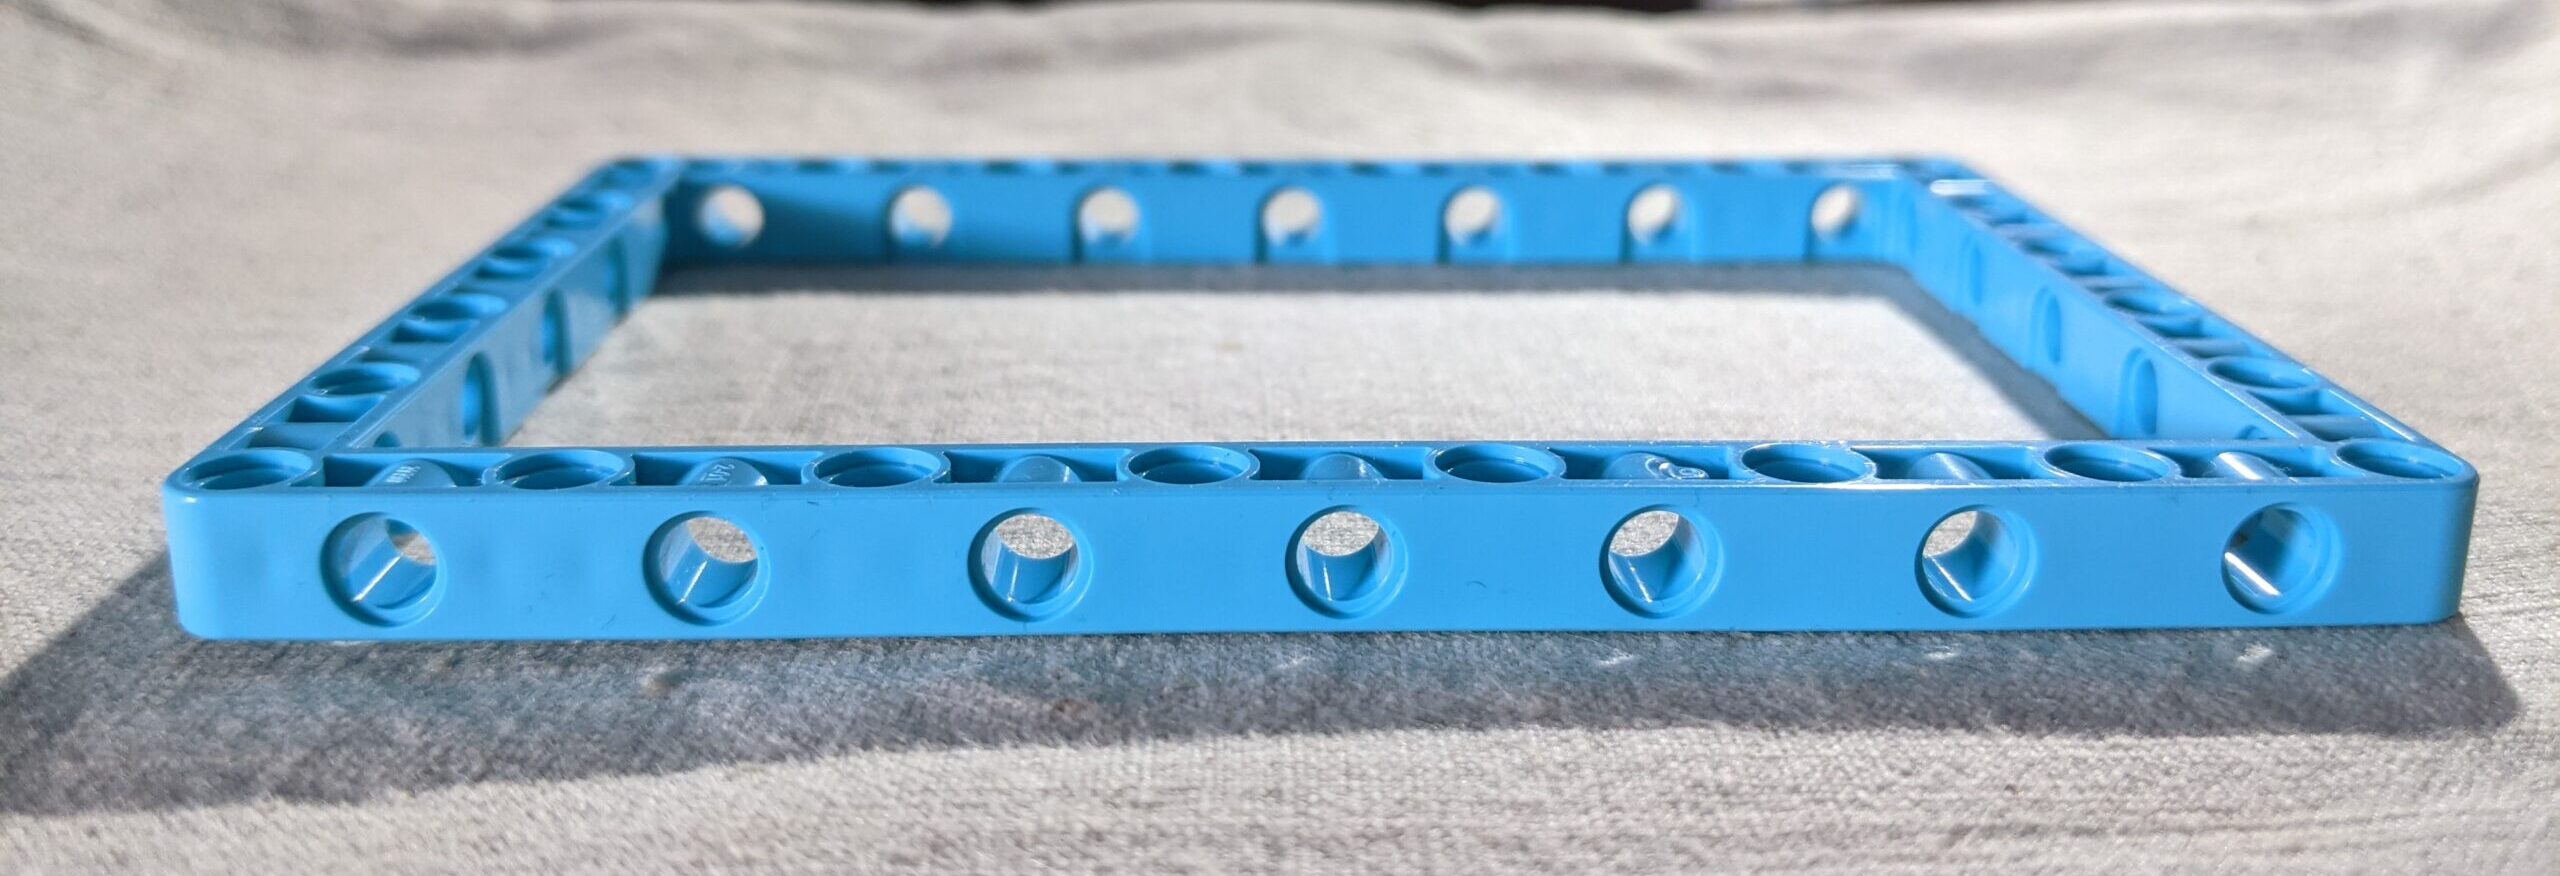
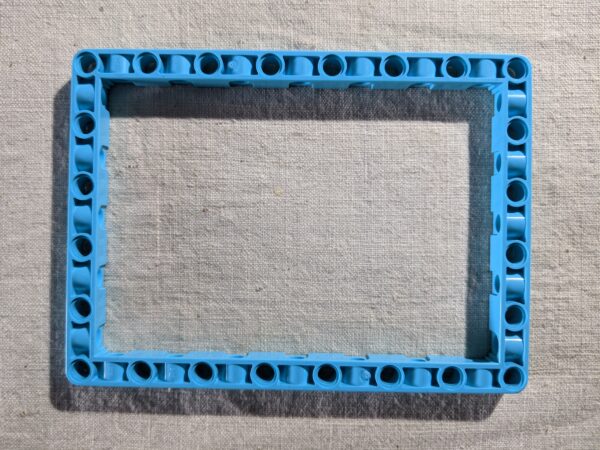
Recently I have purchased a second-hand LEGO set only to find some large, rare (as in: expensive to replace) parts WARPED.
I searched the net and found several threads where people reported on similar issues, but no good solution. So I have put my experience with plastics to work and found an easy fix.
The Fix – the best variant
You will need an access to a 3D printer with a heated bed – you will need only about 30 minutes for the first part and then maybe 10 for each subsequent batch, so even if you don’t own a 3D printer, you can look for a fab-lab in your city, ask a friend who has one for a favour, or even ask if your company has one somewhere.
You don’t need to do any printing at all, all you need is the printer’s heated bed.
What you need to do is:
- Put your warped plate / frame flat on the printer bed.
- Put some cardboard on top of that plate / frame.
- Put some flat, hard weight on top of it all to flatten the warp (no need to bend it completely flat, but you need to see it being somewhat bent towards straight, if the weight is too low the method won’t work). A metal plate would be best, but you can make do with an old hardcover book or a wooden cutting board (and possibly some extra weight on top)
- Set the printer bed to heat up to 70℃ (160°F), wait until it stabilises and then give it a couple minutes at temperature.
- Check if the part straightened (remove the weight), if not, then put it back under the weight, up the temperature to 80℃ (175°F) and again wait a couple of minutes (5-10). Check for straightness again.
- If it still didn’t straighten, go in 2℃ (4°F) increments up to about 95℃-ish (200°F) max, each time waiting 2-3 minutes and checking for progress. If it still didn’t get straight, verify the printer bed temperature with an independent thermometer, it is most likely off.
- Once you see that the part got straightened, note the temperature setting – you will go directly to this temperature for subsequent parts to straighten. This temperature setting is valid for THIS printer only.
- Now put the part(s) to be straightened on the bed, you can straighten many at once, they only need be of same height, so that you can press them all down at once. Let them soak at temperature for about 5-10 minutes and then turn the heat off, without removing the pressure. After the bed cools down (doesn’t need to get all cold, but needs to be below about 50℃) remove the parts. You are done. If more parts need straightening, reload the batch, put the weight on and restart heat at the last known good temperature.
From my experience, hosehold class 3D printers have lousy bed temperature calibration, so you need to do the initial test run to find out at which temperature setting the LEGO plastic (ABS) gets just soft enough to accept new form, but not so soft that it would get deformed. The parts I have tested could be all straightened at about 85-90℃ indicated bed surface temperature. The fix is permanent, i.e. the parts are inherently straight again and are relieved of built-in material stress, so while it is possible to damage them again, the fix does not weaken them.
The fix – if you really can’t find a 3d printer
You can do the above trick by using a pizza stone (or another hard, smooth flat and heavy surface that is heat-proof, note, baking form or oven slides aren’t!) and a kitchen oven.
The process is exactly as before, only since the oven temperature control is VERY approximate, you NEED a pizza stone or similar object, you also need an independent thermometer to show the oven temperature. A BBQ thermometer showing temperature in 1° or finer increments will do.
The reason for the pizza stone is, the oven temperature control does not keep a constant temperature, but it goes up and down sometimes as much as 10℃ (20°F), which is too much. You set the oven to 80℃ (175°F), put the stone in, wait till it soaks the heat up, check temperature with your thermometer and use the stone as if it was the printer bed in the method before. You slowly raise the starting temperature of the stone until your part is straight after a cool-down under a weight on the stone. Done.
Don’t exceed 95℃ / 200°F or you may damage the part permanently – if you seem to need higher temperature setting, verify the oven’s actual temperature using a thermometer – your thermostat may be off.
Good luck!